
Recently, I implemented DecapCMS into this website. It's been a complete game-changer to how easily I can create and publish pieces to this writing page! Essentially, it has allowed me to write and edit on the go, without having to use a code editor like I had to before.
Update 2: I no longer use DecapCMS, but a self-hosted instance of IndieKit for micropub support. It took a while longer to get up and running, but it was a lot faster than TinaCMS!
Update: I just changed from Netlify to Cloudflare Pages and opted to use TinaCMS (With Tina Cloud) instead of Decap. DecapCMS did not work when I moved my files over to be hosted on Cloudflare Pages.
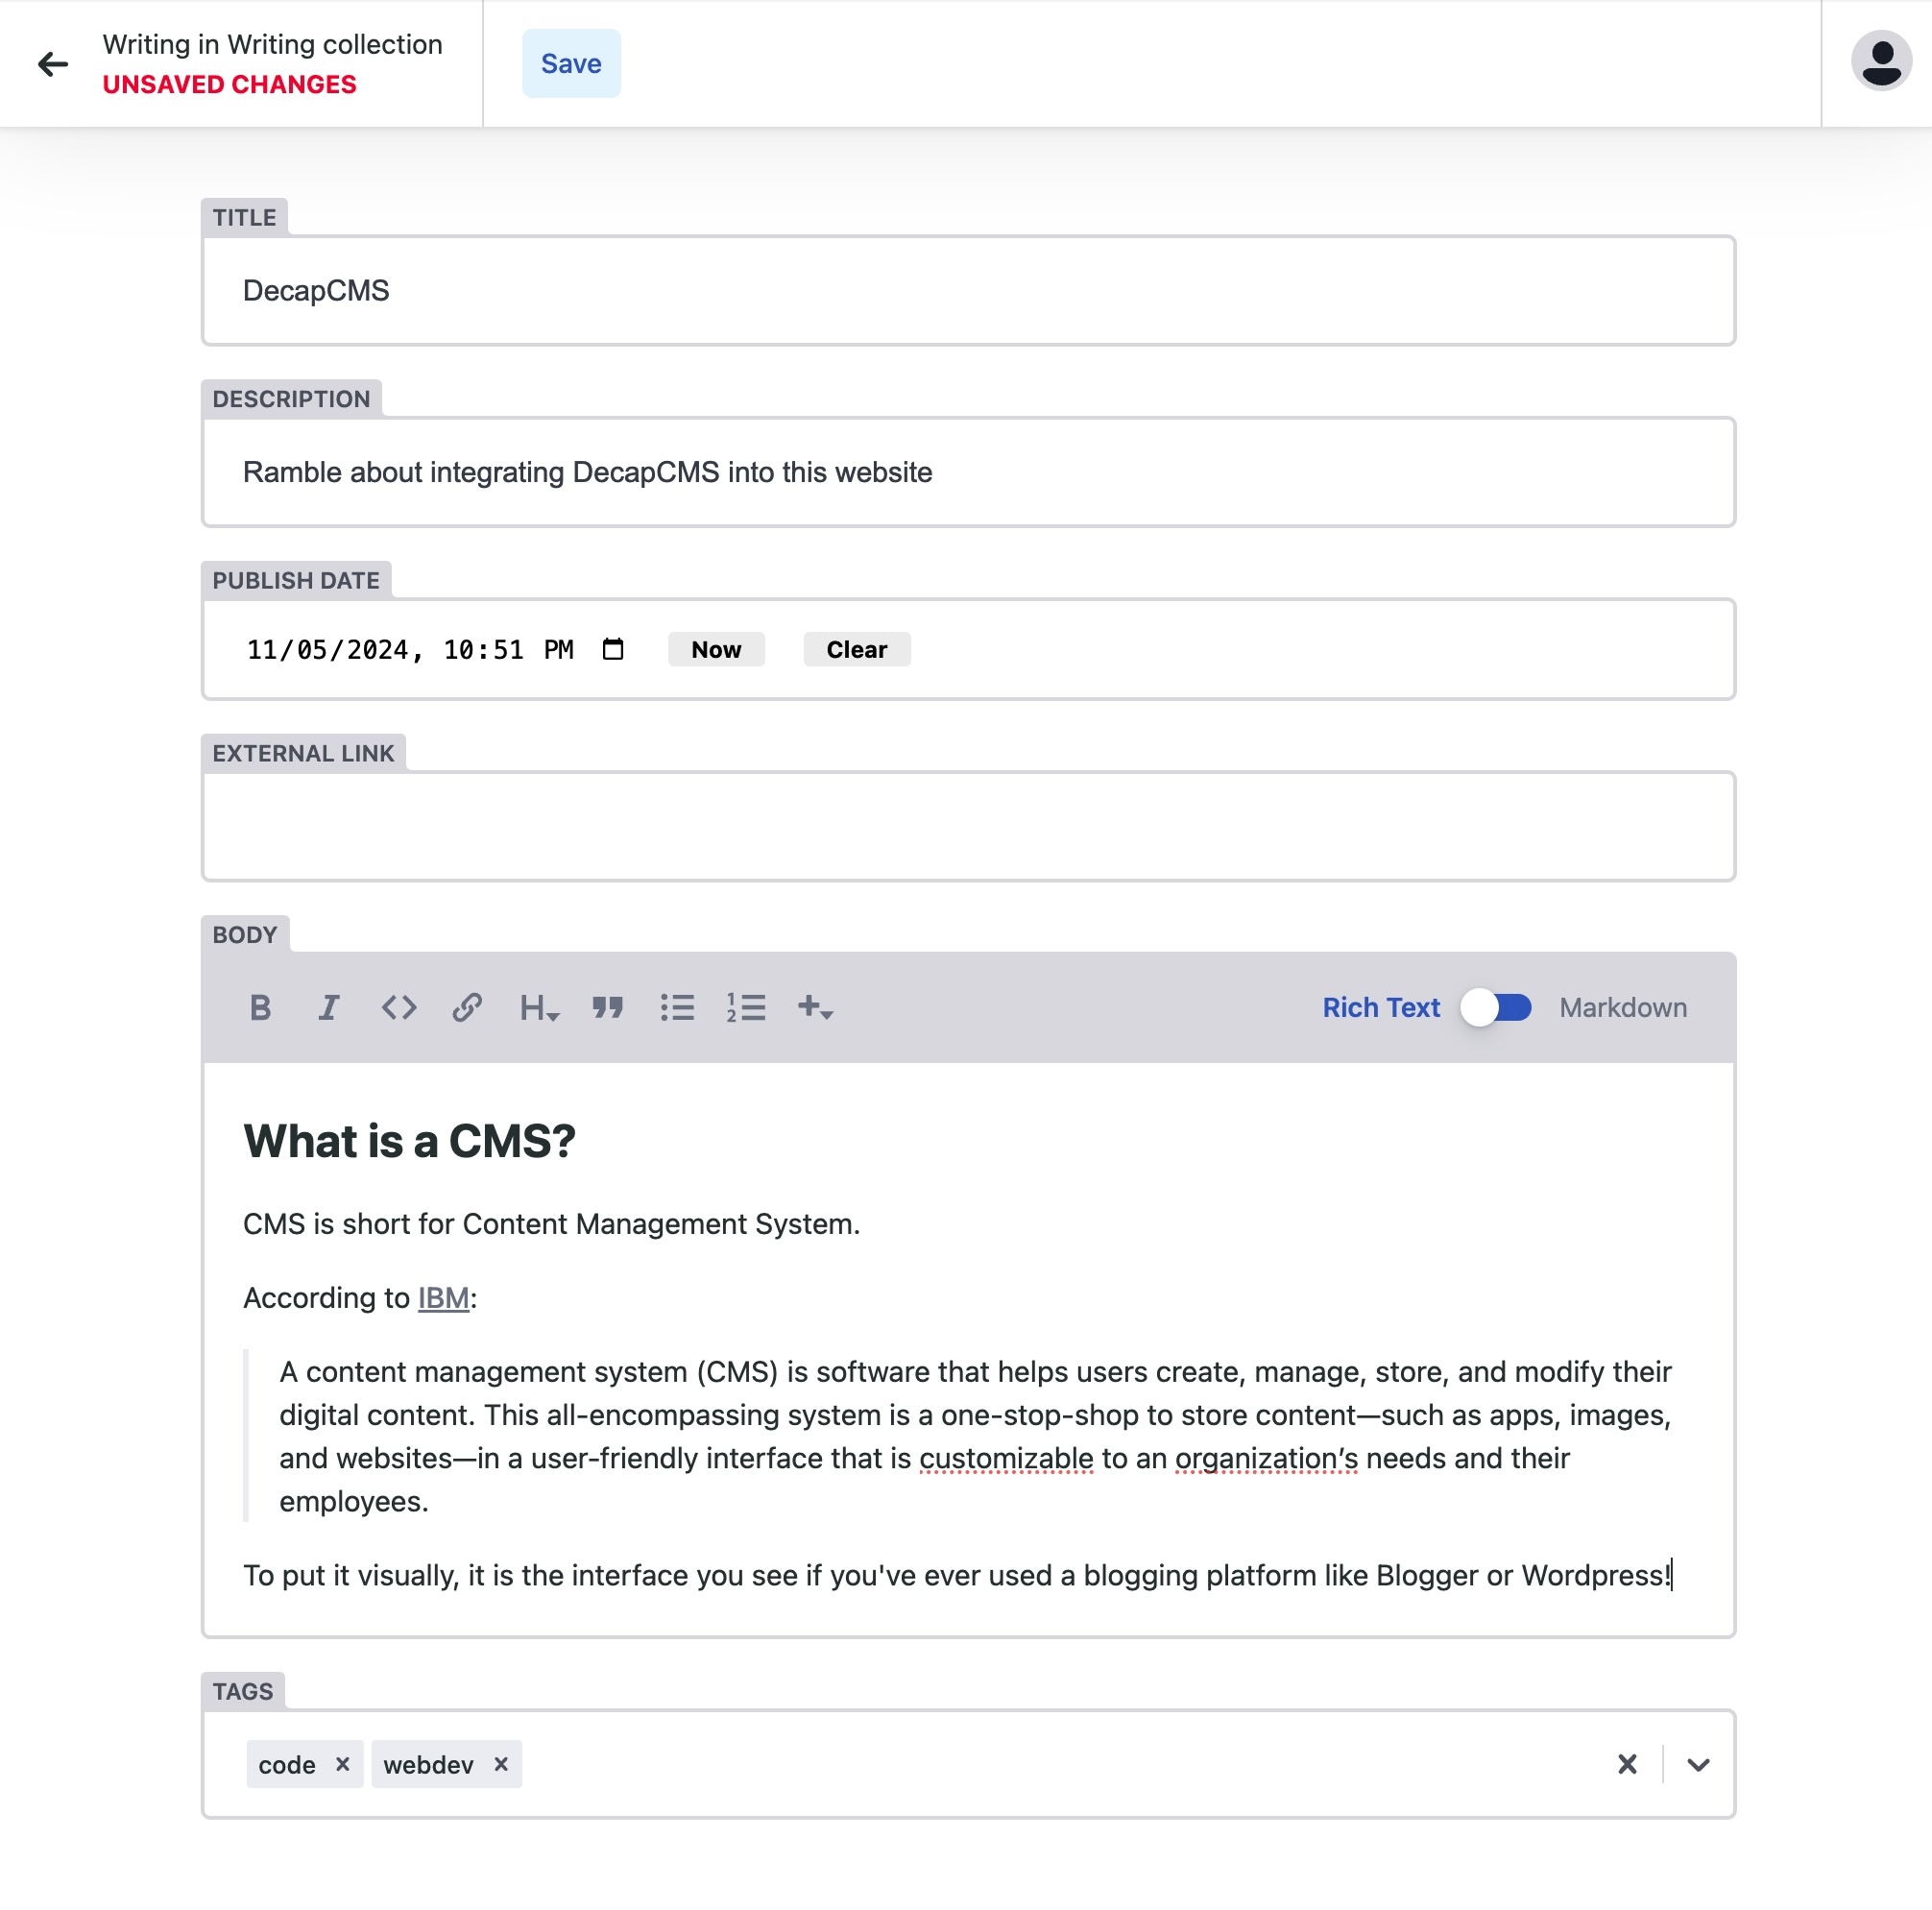
What is a CMS?
CMS is short for Content Management System.
According to IBM:
A content management system (CMS) is software that helps users create, manage, store, and modify their digital content. This all-encompassing system is a one-stop-shop to store content—such as apps, images, and websites—in a user-friendly interface that is customizable to an organization’s needs and their employees.
To put it visually, it is the interface you see if you've ever used a blogging platform like Blogger or Wordpress!
Why use a CMS?
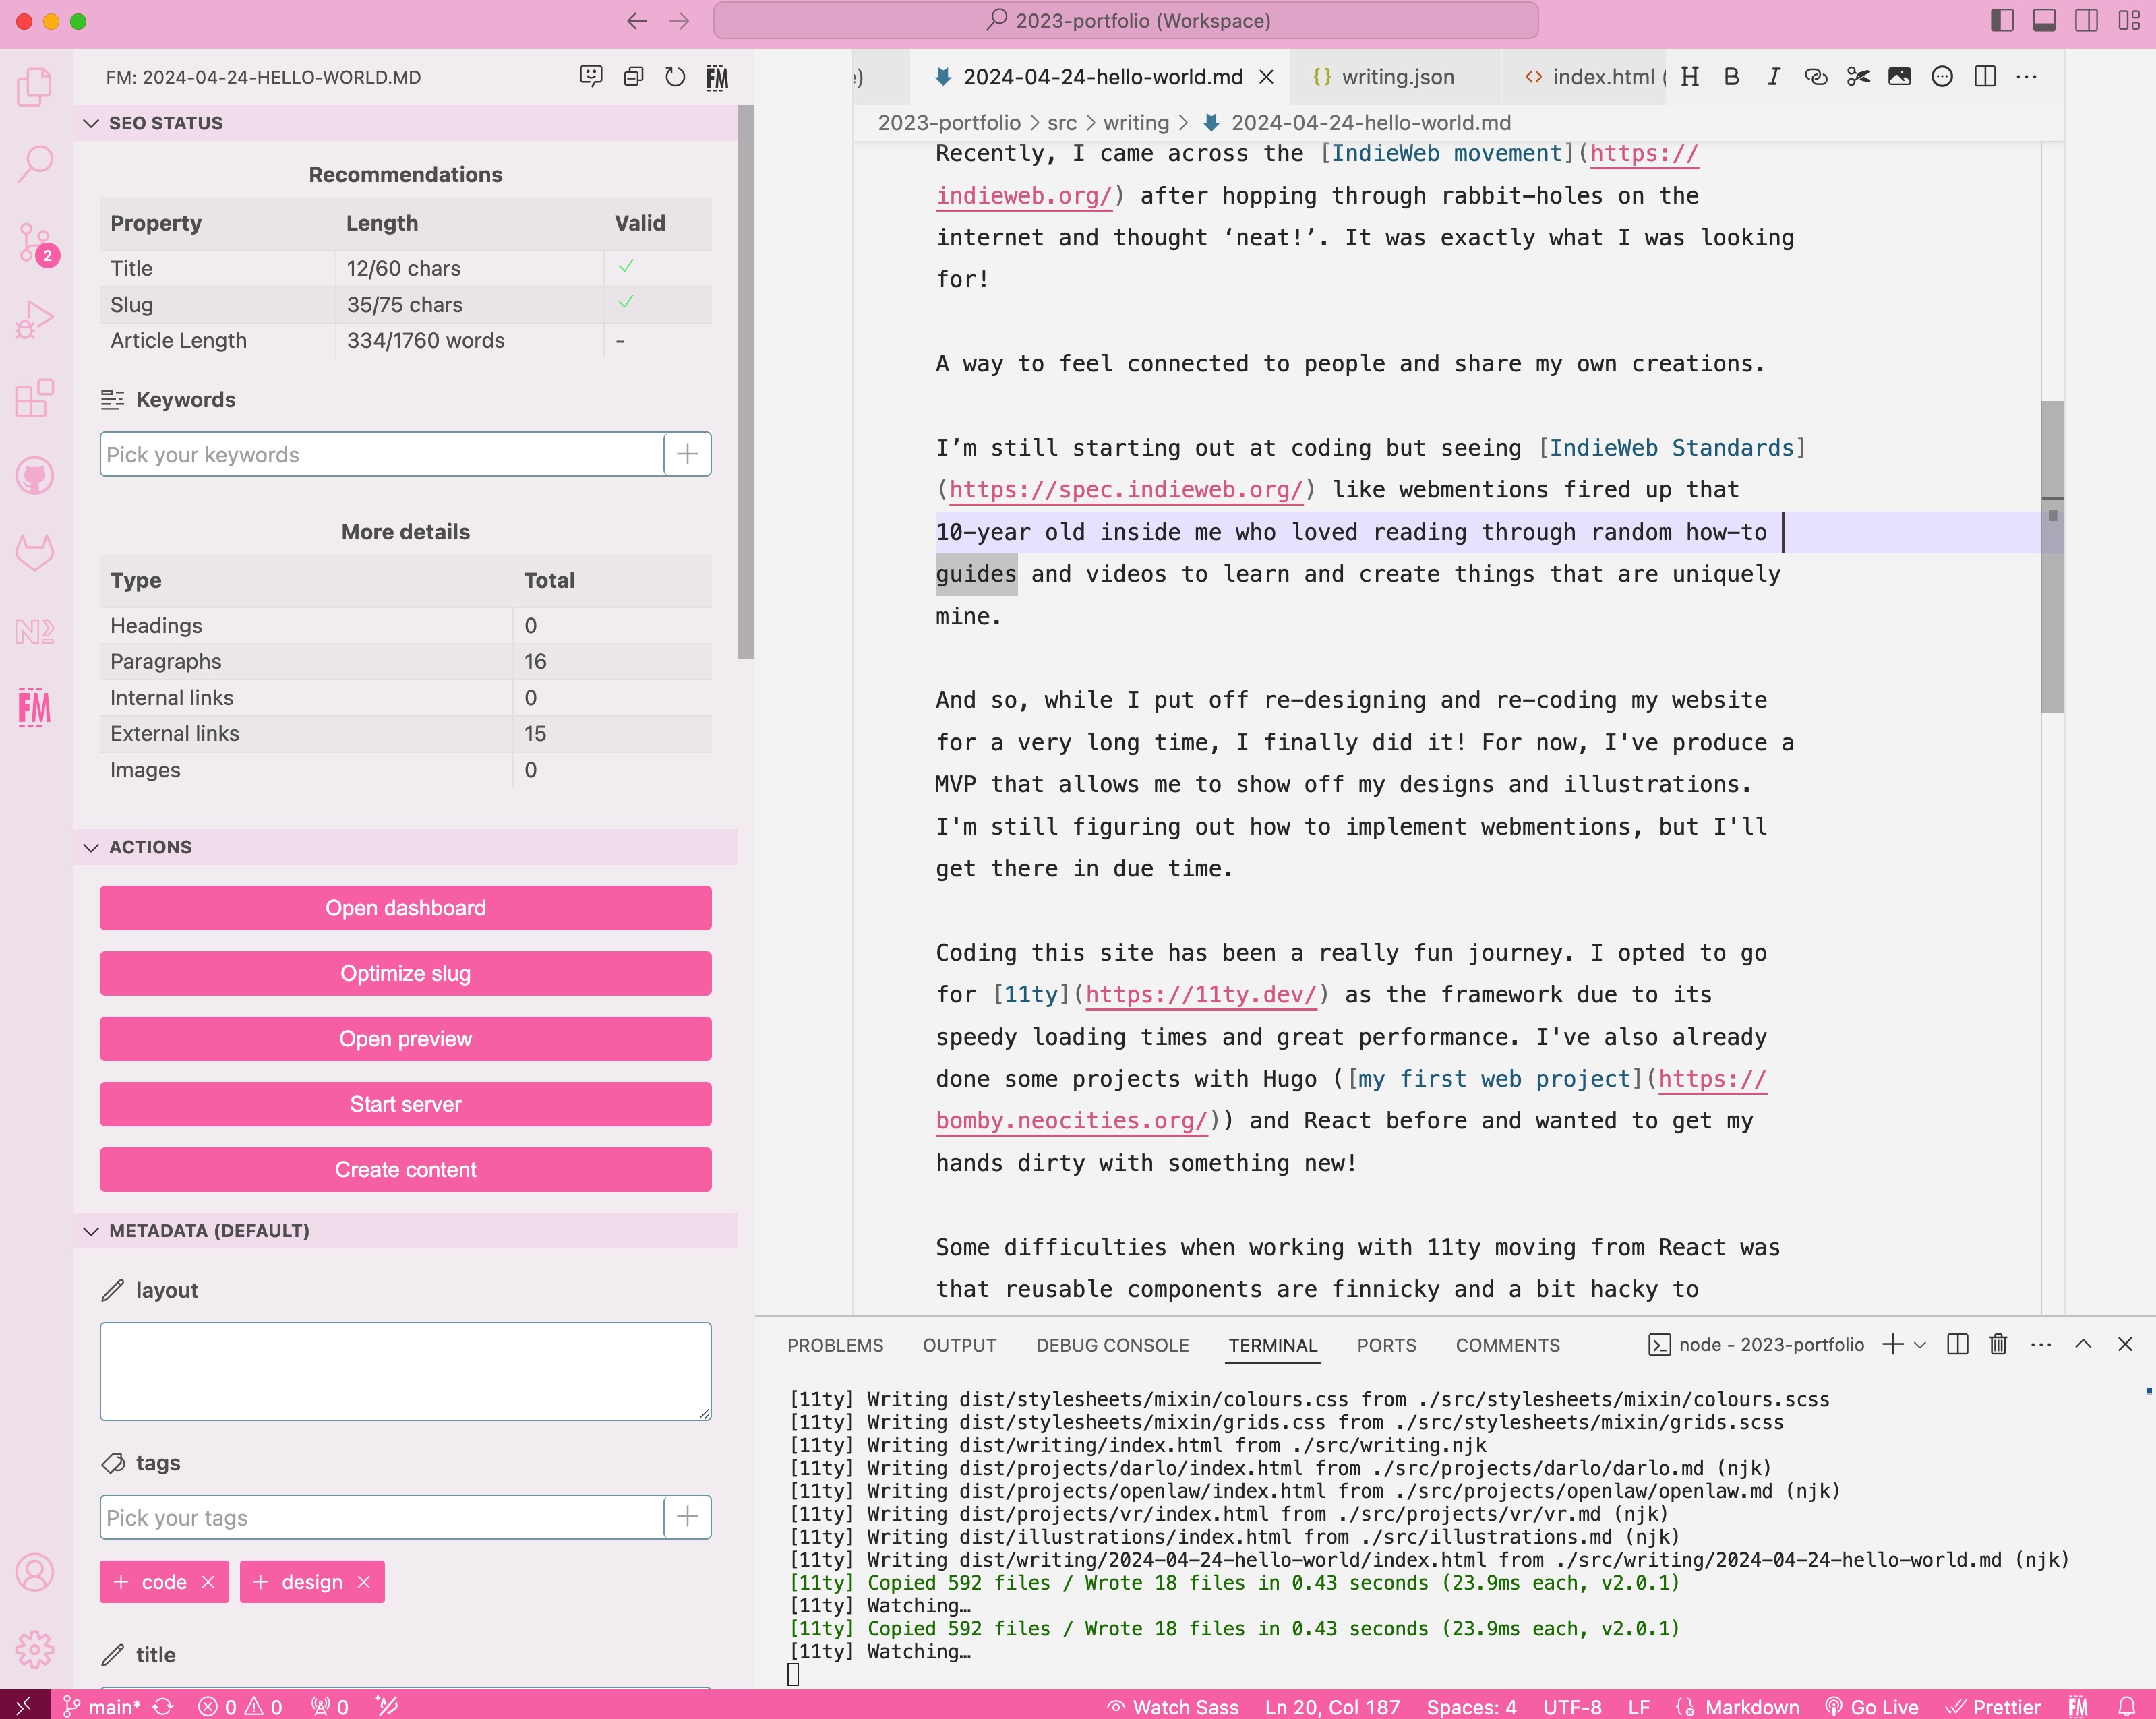
Before I integrated DecapCMS into this site, making or editing posts was really clunky. Since this is a statically generated website built on 11ty, every time I wanted to make changes, I had to manually edit a markdown file on my website's Github Repo and push it up. Thanks to Netlify, the website automatically redeploys after a change is merged into the main branch, but this made it very difficult to post from my phone or iPad. It's also much less visual (even with the really cool Frontmatter CMS plugin for VSCode) compared to DecapCMS, which has a beautiful rich text editor. It also helps to keep my files neat and tidy...
Why use DecapCMS?
Since I was already using Netlify to host and deploy my website, DecapCMS was the easiest solution to integrate for my use case! DecapCMS was originally known as NetlifyCMS and is perfectly integrated with the Netlify client and Github. It also allows me to use authentication from Netlify as well – you can check out the login page here, which has Github authentication too.
The tutorial below was really helpful in getting it set up:
Conclusion
There are still some areas that I can improve in for the writing/publishing process... Specifically, I'd like to create a custom Netlify CMS widget that can replace the default image widget for use with LightGallery. Right now, I still have to copy and paste in the HTML markup for my image lightboxes to appear (not ideal!).
That's it for now! Thanks for listening to this ramble.


